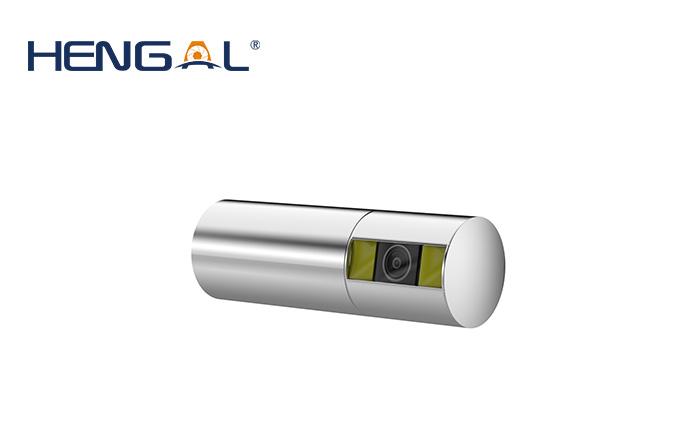
The industrial endoscope camera module is generally composed of controller, lifting table, camera, cable, crawler and lighting. The remote lifting table adjusts the height of the camera, the crawler can pass through obstacles and turn freely, and the remote clutch can release the wheel to retract the crawler. It can be equipped with a rotating lens without blind area or an axially fixed color lens. The camera can take pictures and record the condition of the pipeline, and can carry other detection devices to detect the interior of the pipeline.
(1) Cracks. When the light beam shines on the surface of the object to be tested, black or bright lines are observed, and under a certain magnification, the line has an irregular edge, it is determined as a crack. When the crack is wide, the measuring influence line of the measurable probe will be bent.
(2) Peeling. When the light beam shines in parallel, a shadow is observed behind the convex part; If the beam irradiation angle is changed, it is observed that there is a clear boundary between the convex part of the surface and the surrounding object to be detected, which is judged as peeling.
(3) Stay wire and scratches. Under the irradiation of light beam, it is observed that there are regular continuous long lines on the surface, which is determined as pulling wire.
(4) Pits are raised. When the light beam is illuminated at a certain angle, it is connected with the boundary of the surrounding object to be tested without dividing line. The part near the light source has shadows, and the part far from the light source has bright shadows, which are pits. When the light beam is illuminated at a certain angle, it is connected with the boundary of the surrounding object to be tested without dividing line. The convex part has a bright shadow, and the shadow behind it is a pit. When the pit is deep or the bulge is high, the measuring line of the measurable probe will be bent.
(5) Speckle. When the light beam irradiates, it is observed that the smooth, non concave and convex surface with different color from the surrounding object is speckled.
(6) Corrosion. Under the irradiation of the light beam, it is observed that the blocky and pointy unsmooth surfaces are slightly uneven under a certain magnification, which is corrosion.
(7) Incomplete penetration. It is observed that there is an obvious boundary line between the molten metal, the base metal and the weld seam.
(8) Weld leakage. When the light beam is irradiated at a certain angle, it is observed that it is connected with the molten metal, and the weld leakage occurs when there is no bulge at the dividing line.
(9) Surplus. When the beam is illuminated at any angle, objects other than the structure with different color and brightness from the surrounding basic objects to be tested are surplus objects.
(10) Assembly defects. The structural phenomena that do not conform to the technical conditions of the drawing are observed during the inspection.
(11) Dimension measurement. If required, the measuring probe can be used to measure the shape, position and dimension.
industrial endoscope camera module https://www.hengal-tech.com/3-7mm-industrial-endoscope-camera-module-3-7mm-pshow/15.html

